Sky Tours
Sky Tours let you build a show out of many skies shown in sequence. You record the sky of one place and moment as a step, then link steps together.
On playback the view glides from step to step, the sky wheels, and time flows. Tours are saved on your device automatically, and you can hand them to others by link or file.
Open tours from the "Menu" button in the top-right of the screen, then choose "Sky tours." That is the list of the tours you have made.
Authoring
The heart of authoring is simple: add the sky exactly as it looks right now. Compose a sky with the usual controls — pick a place on the globe, set the time, aim the camera, and tune the display (constellation lines, light pollution, and so on). When it looks right, press Add this sky. That whole moment is recorded as one step.
Press New tour in the list and a tour exists at once; a band labeled "Editing tour" appears at the bottom of the screen. Each step you add shows up as a card. Change the place, time, or camera, add again, and repeat — the skies you want to show stack up in order. Every edit is saved automatically: the band says "Saved", and there is no Save button.
Select a card and the sky returns to that step; the lower row of the band reads "Selected: step N" and holds everything you can do to it. Recompose the sky, press Replace with this sky, and that one step becomes what is on screen now (the button wakes up once the sky has moved). To carry a scene onward, Duplicate it, advance the clock, and replace the copy; you now have a pair with the same framing and different times, and playing it shows the stars moving. Delete removes a step you no longer want. For a few seconds after a delete or a reorder, an Undo appears.
A new step goes in right after the selected card — the + shown beside it marks the spot. To add at the end instead, press Add at the end after the last card. Reorder with Earlier and Later, or by dragging cards.
Close the band with Close. Nothing is lost — it is already saved. To pick a tour up again, press Edit on it in the list. A tour closed with no steps at all is dropped from the list.
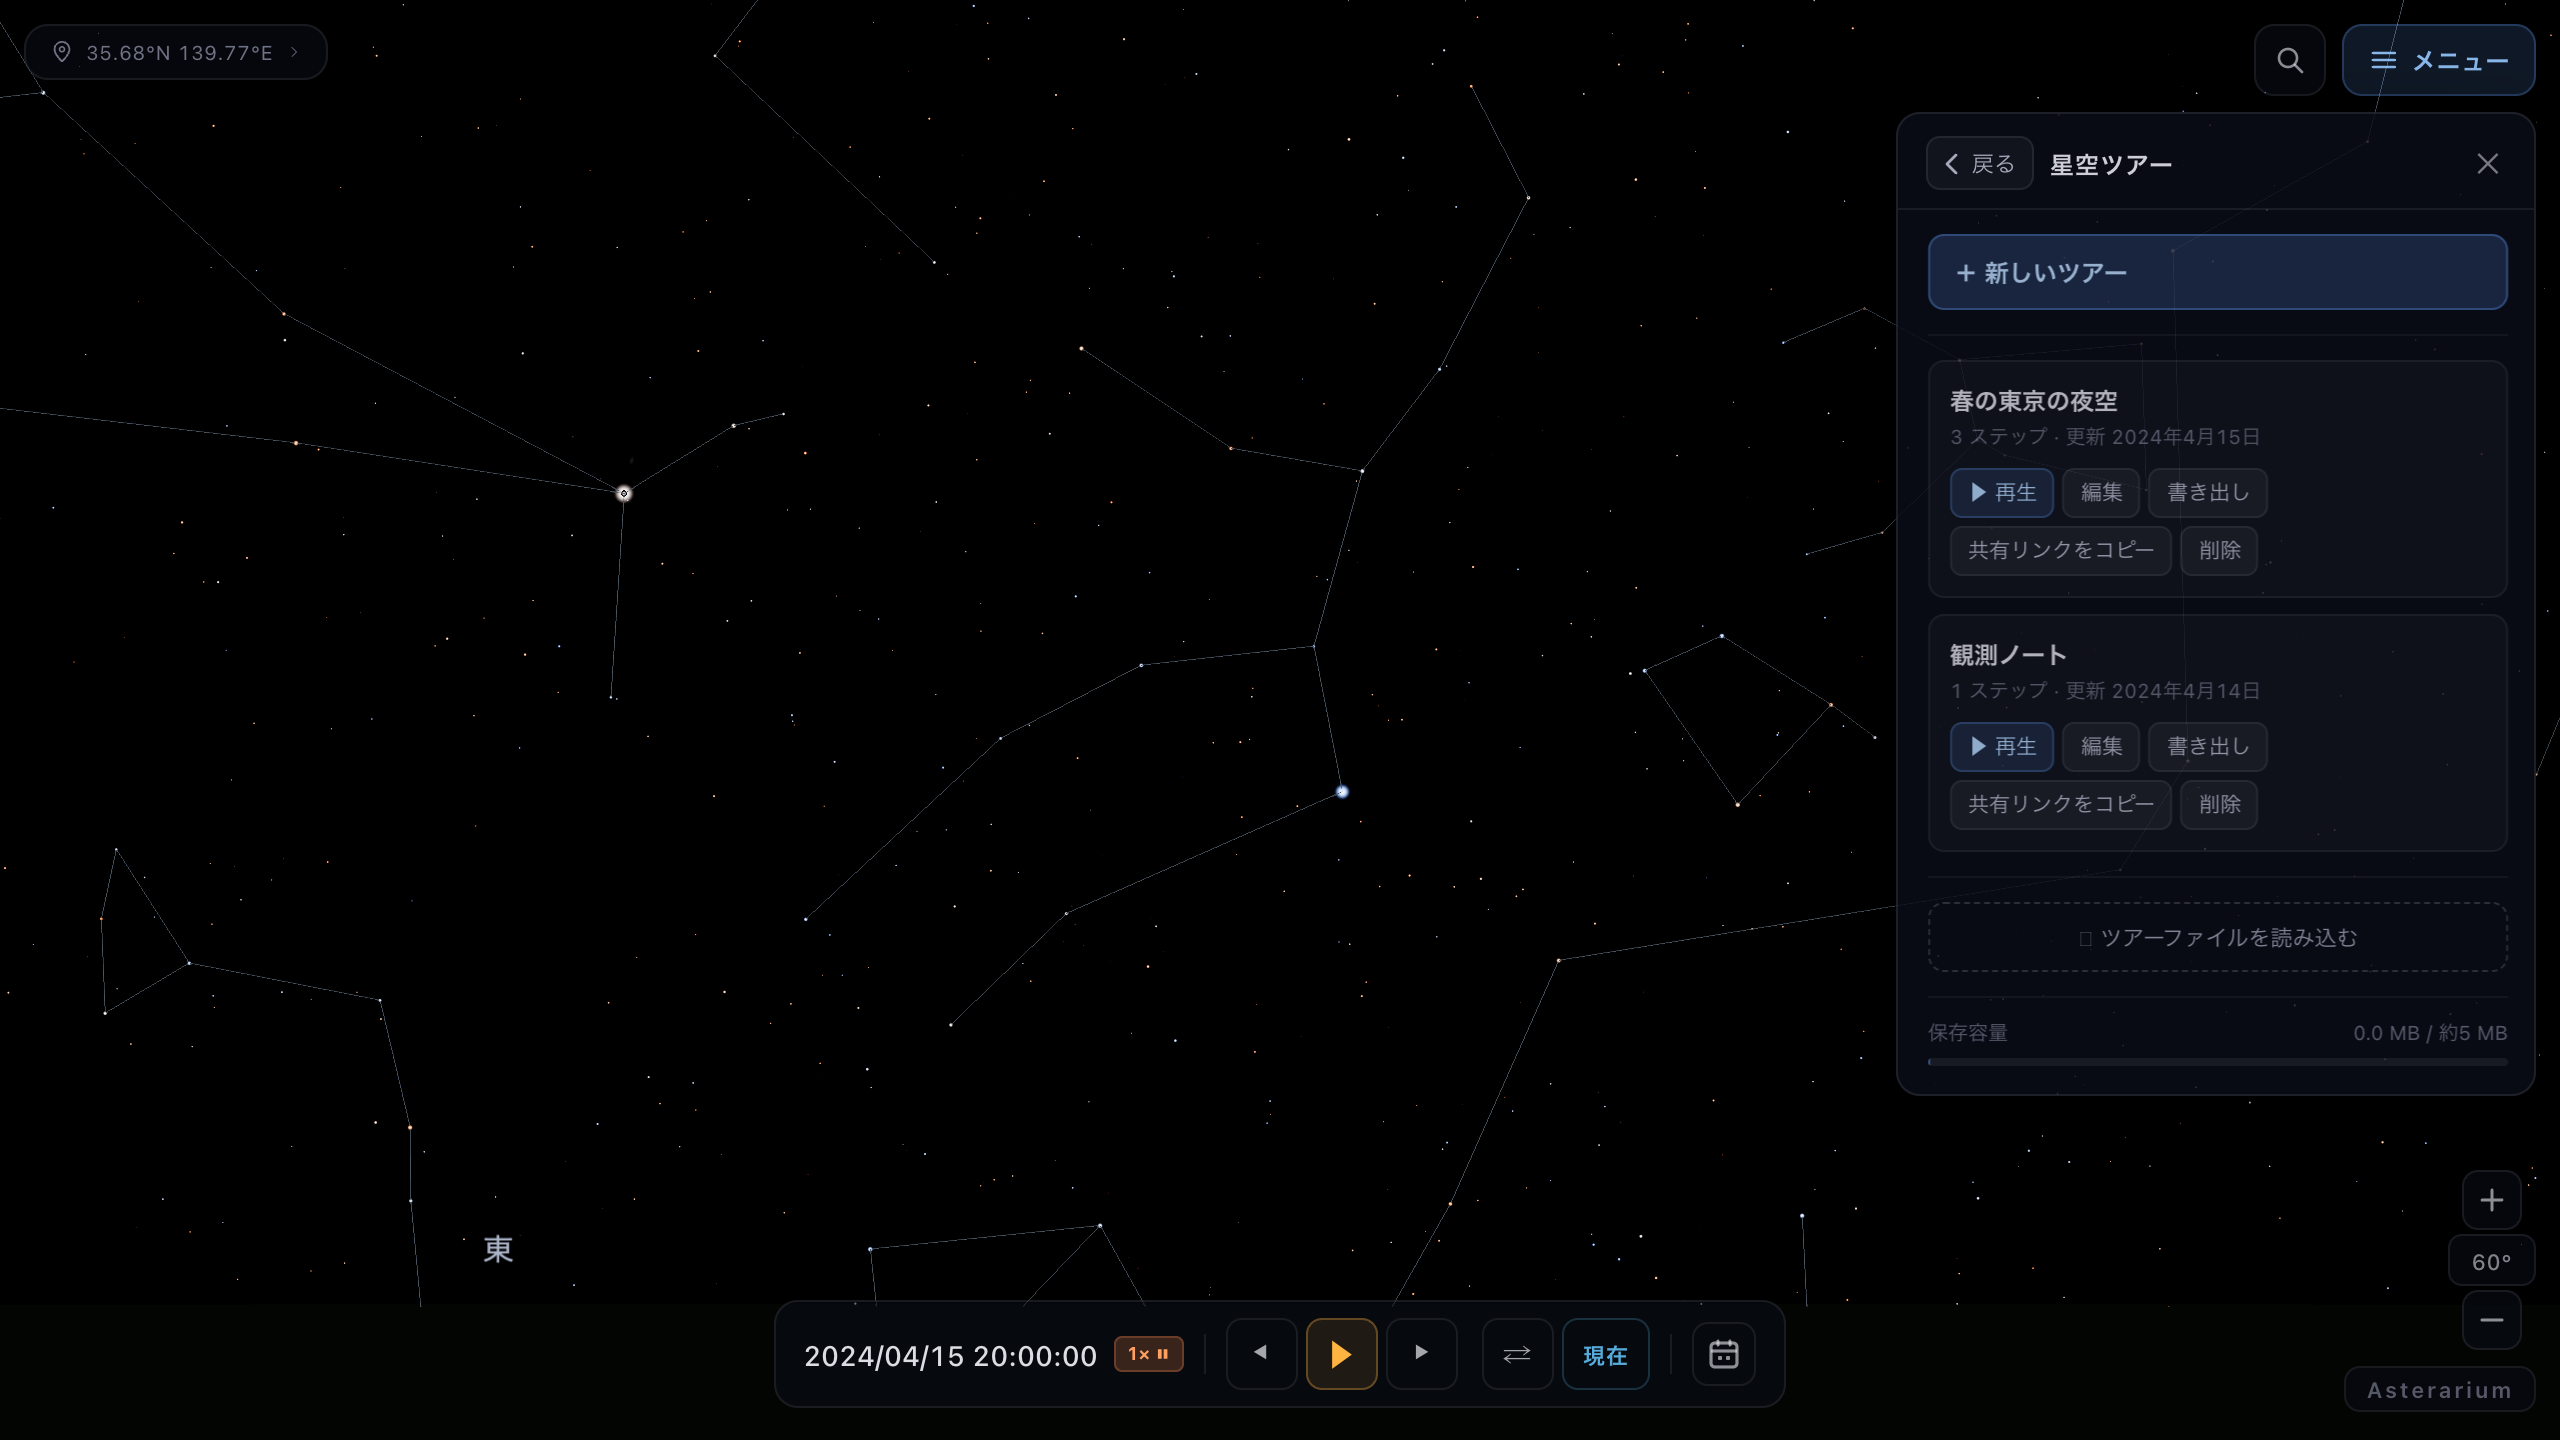
The tour list. Your tours are listed here, and a new one starts here too.
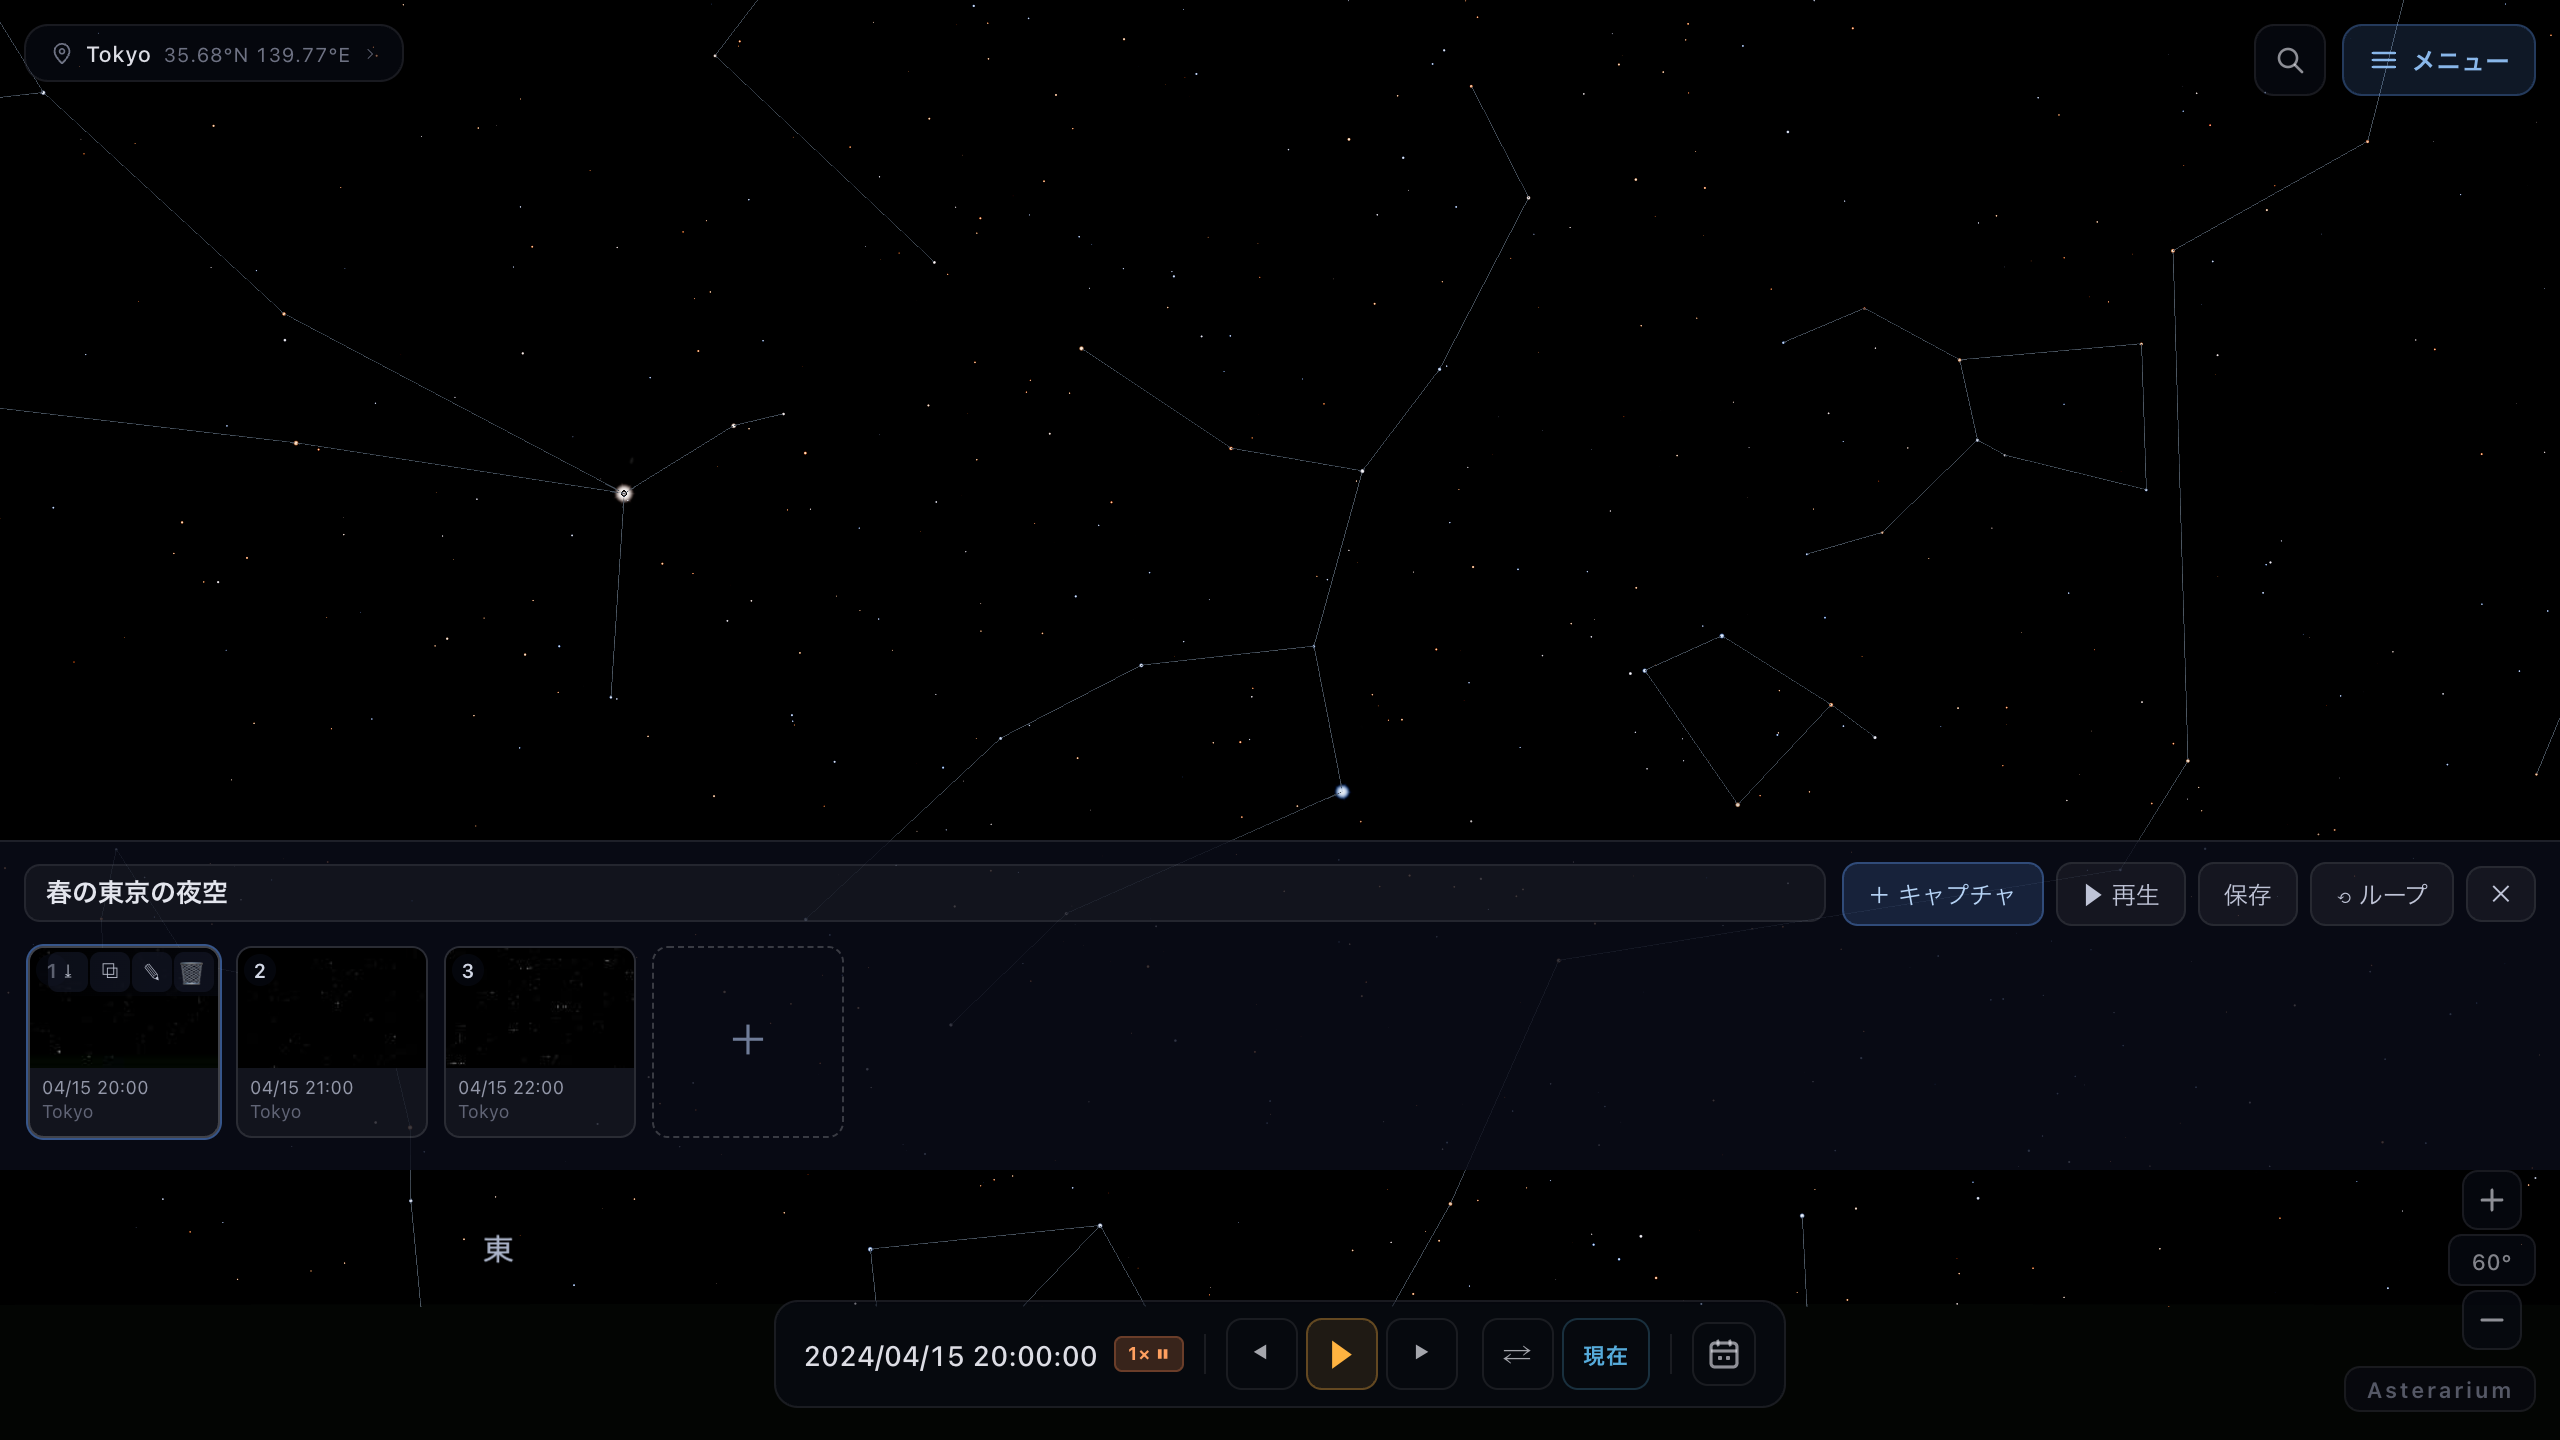
Three skies added. The cards play left to right; the marker between two cards shows how one gives way to the next.
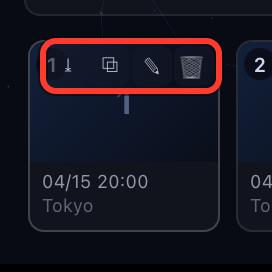
The red frame marks the "Selected" row that appears under the cards once one is chosen. Everything you can do to that step lives here.
Timing & transitions
How does the view move from one step to the next? Press the marker between two cards, or Transition & timing in the selected row, and "Step N settings" opens. The upper block is "Step N−1 → N transition", the motion that brings you into the step; the lower block is "Staying on step N", what happens once you have arrived. The first step has no transition block — it opens from black.
How it arrives offers four choices. Auto (recommended) picks the motion from the differences with the previous step, and says right below which one it picks this time. Fade to black switches under a brief darkening. Pan the camera keeps the place and time fixed and swings only the camera, smoothly. Fast-forward time moves the camera while turning the sky along with it, showing time passing. Seconds it takes sets how long that motion lasts (a fade has no length). Any step where the place changes always arrives by a fade, for technical reasons, and the panel says so.
How long to stay is the pause on the step before playback moves on. Choose ∞ Until Next is pressed and it stays until you advance it yourself. The clock while staying lets you run or freeze the sky's clock during the pause: Frozen holds the sky still, while a faster rate lets you watch the stars drift, right there.
Changes apply at once, so you can keep editing and check the motion as you go. Press Done to close the panel.
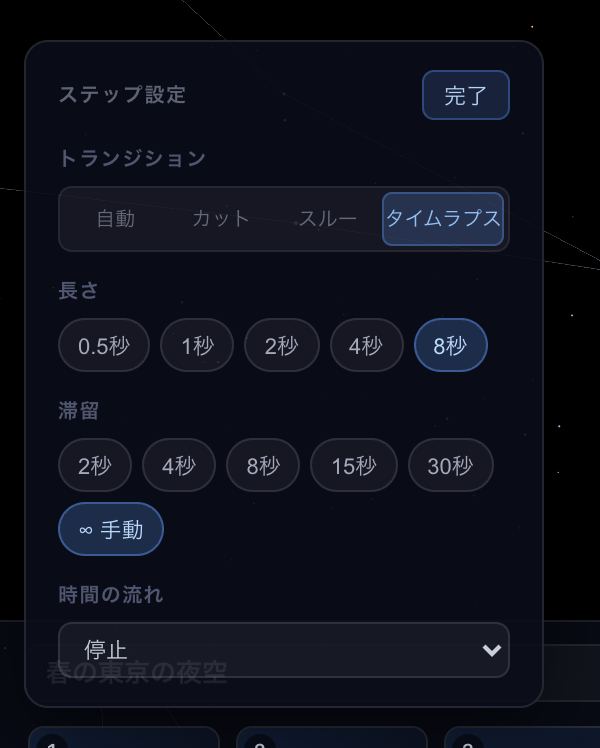
Step 2 is set to arrive by an eight-second fast-forward and then stay until Next is pressed.
Playback
Press Play from start in the editing band, Play from here in the selected row, or Play on a tour in the list, to begin. During playback a transport bar appears at the bottom and everything else fades quietly away, leaving only the sky.
The bar shows your progress through the steps. Previous step and Next step move between them; Pause / Resume stops and continues. Fullscreen fills the screen, and Exit leaves the tour. On an ∞ hold step, the Next button softly pulses, waiting for your cue.
You can always look around freely, even during playback. Dragging or swiping to change your view while dwelling does not stop the tour. If you interact during a transition, though, that motion is interrupted and playback pauses — press Resume to carry on from there.
The keyboard works too: Space to pause and resume, ← → for the previous and next step, and Esc to exit. When the tour reaches the end, you can choose Replay or Exit.
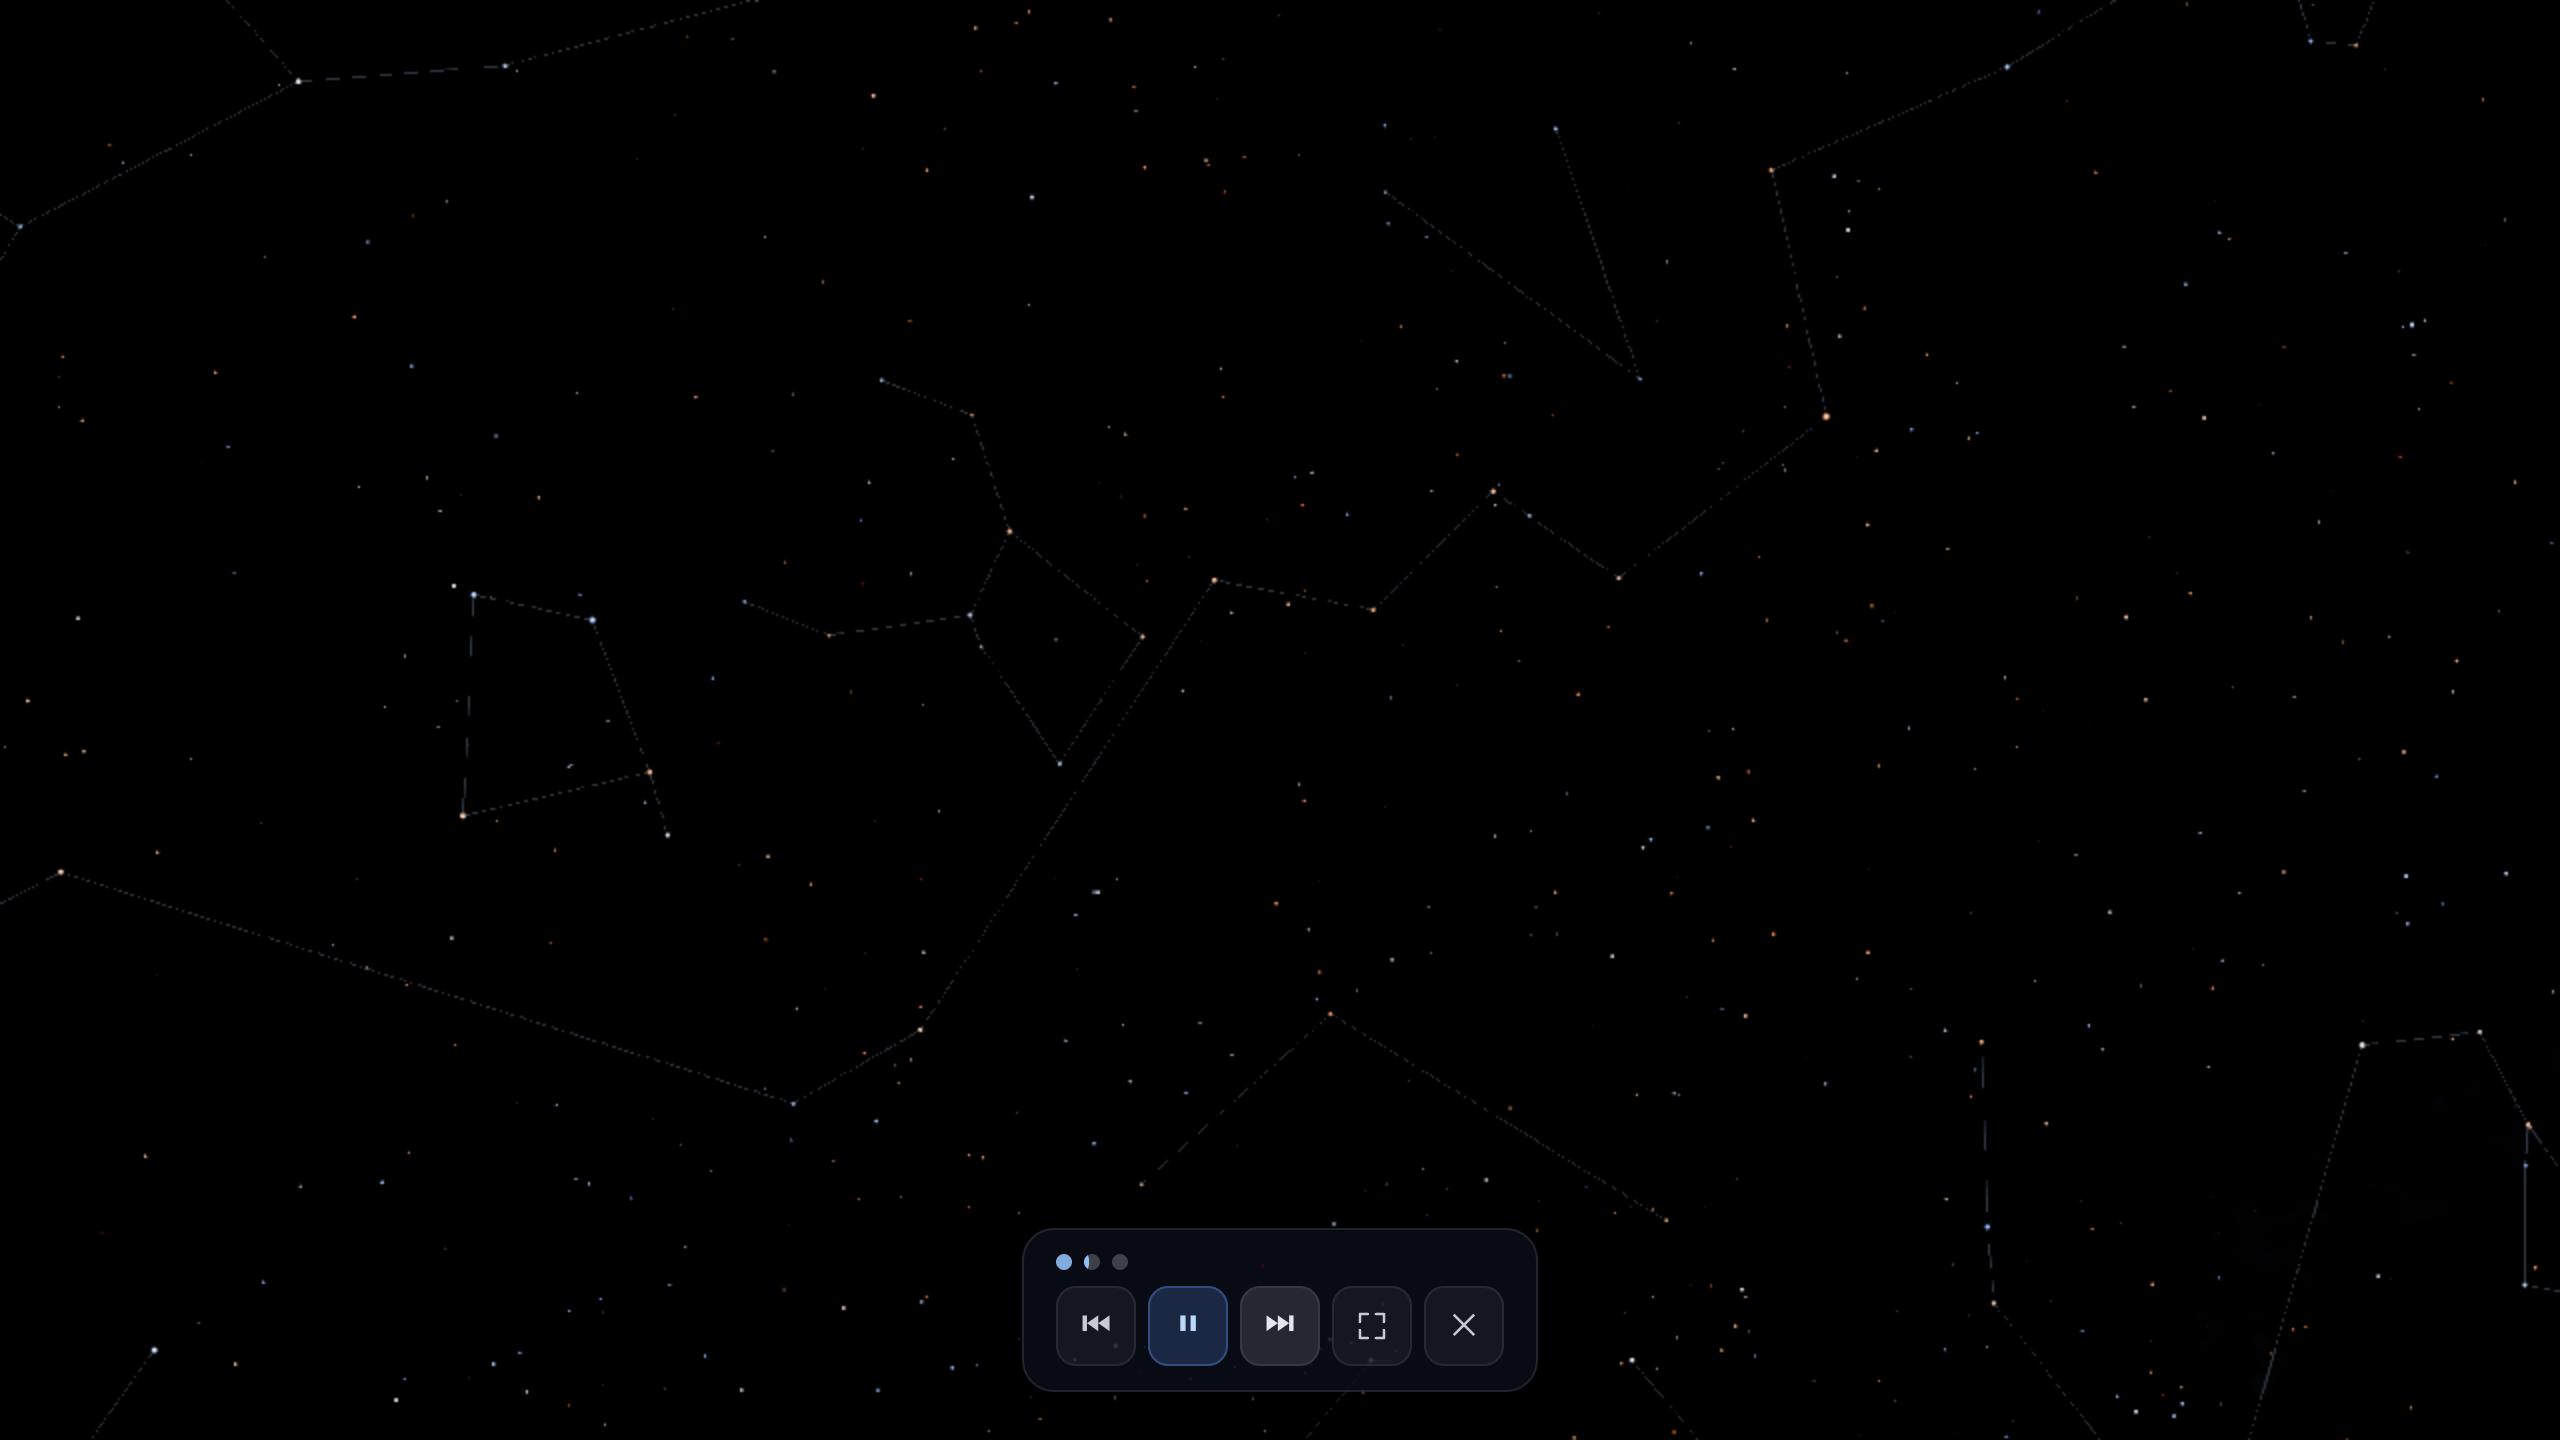
Mid-playback: everything but the transport bar has faded, leaving the sky.
Saving & export
A tour is in the list from the moment you create it, and every edit is saved on its own. There is no Save button. Closing the editor loses nothing; press Edit on the tour in the list to pick up where you left off. The tour you are editing is tagged "Editing" in the list.
Each tour in the list has Play and Edit, and under More: Export file, Copy share link and Delete. While editing, the band's "…" button offers the same.
Tours live only in this browser on this device. To carry one to another device — or to keep a reliable copy — use Export file to save the tour as a single JSON file. To bring one back, use the import button in the list, or drag and drop the file onto it.
A storage meter sits at the bottom of the list. You have roughly 5 MB to work with; a warning appears as it fills up, so exporting and then deleting tours you no longer need keeps things comfortable.
Sharing
You can let others watch the tours you make, in one of two ways: share by link, or share by file.
For a small tour, Copy share link is the easiest. The whole tour fits inside the URL, so sending that link is all it takes. As tours grow, the URL can become too long to open reliably everywhere — in that case, hand over the exported file instead (the recipient opens it with import). The tour you are editing can be turned into a link straight from the band's "…" button.
Opening a shared link brings up a small invitation card. It shows the tour's title and step count, and pressing ▶ Start tour begins playback. Close returns to the ordinary sky.
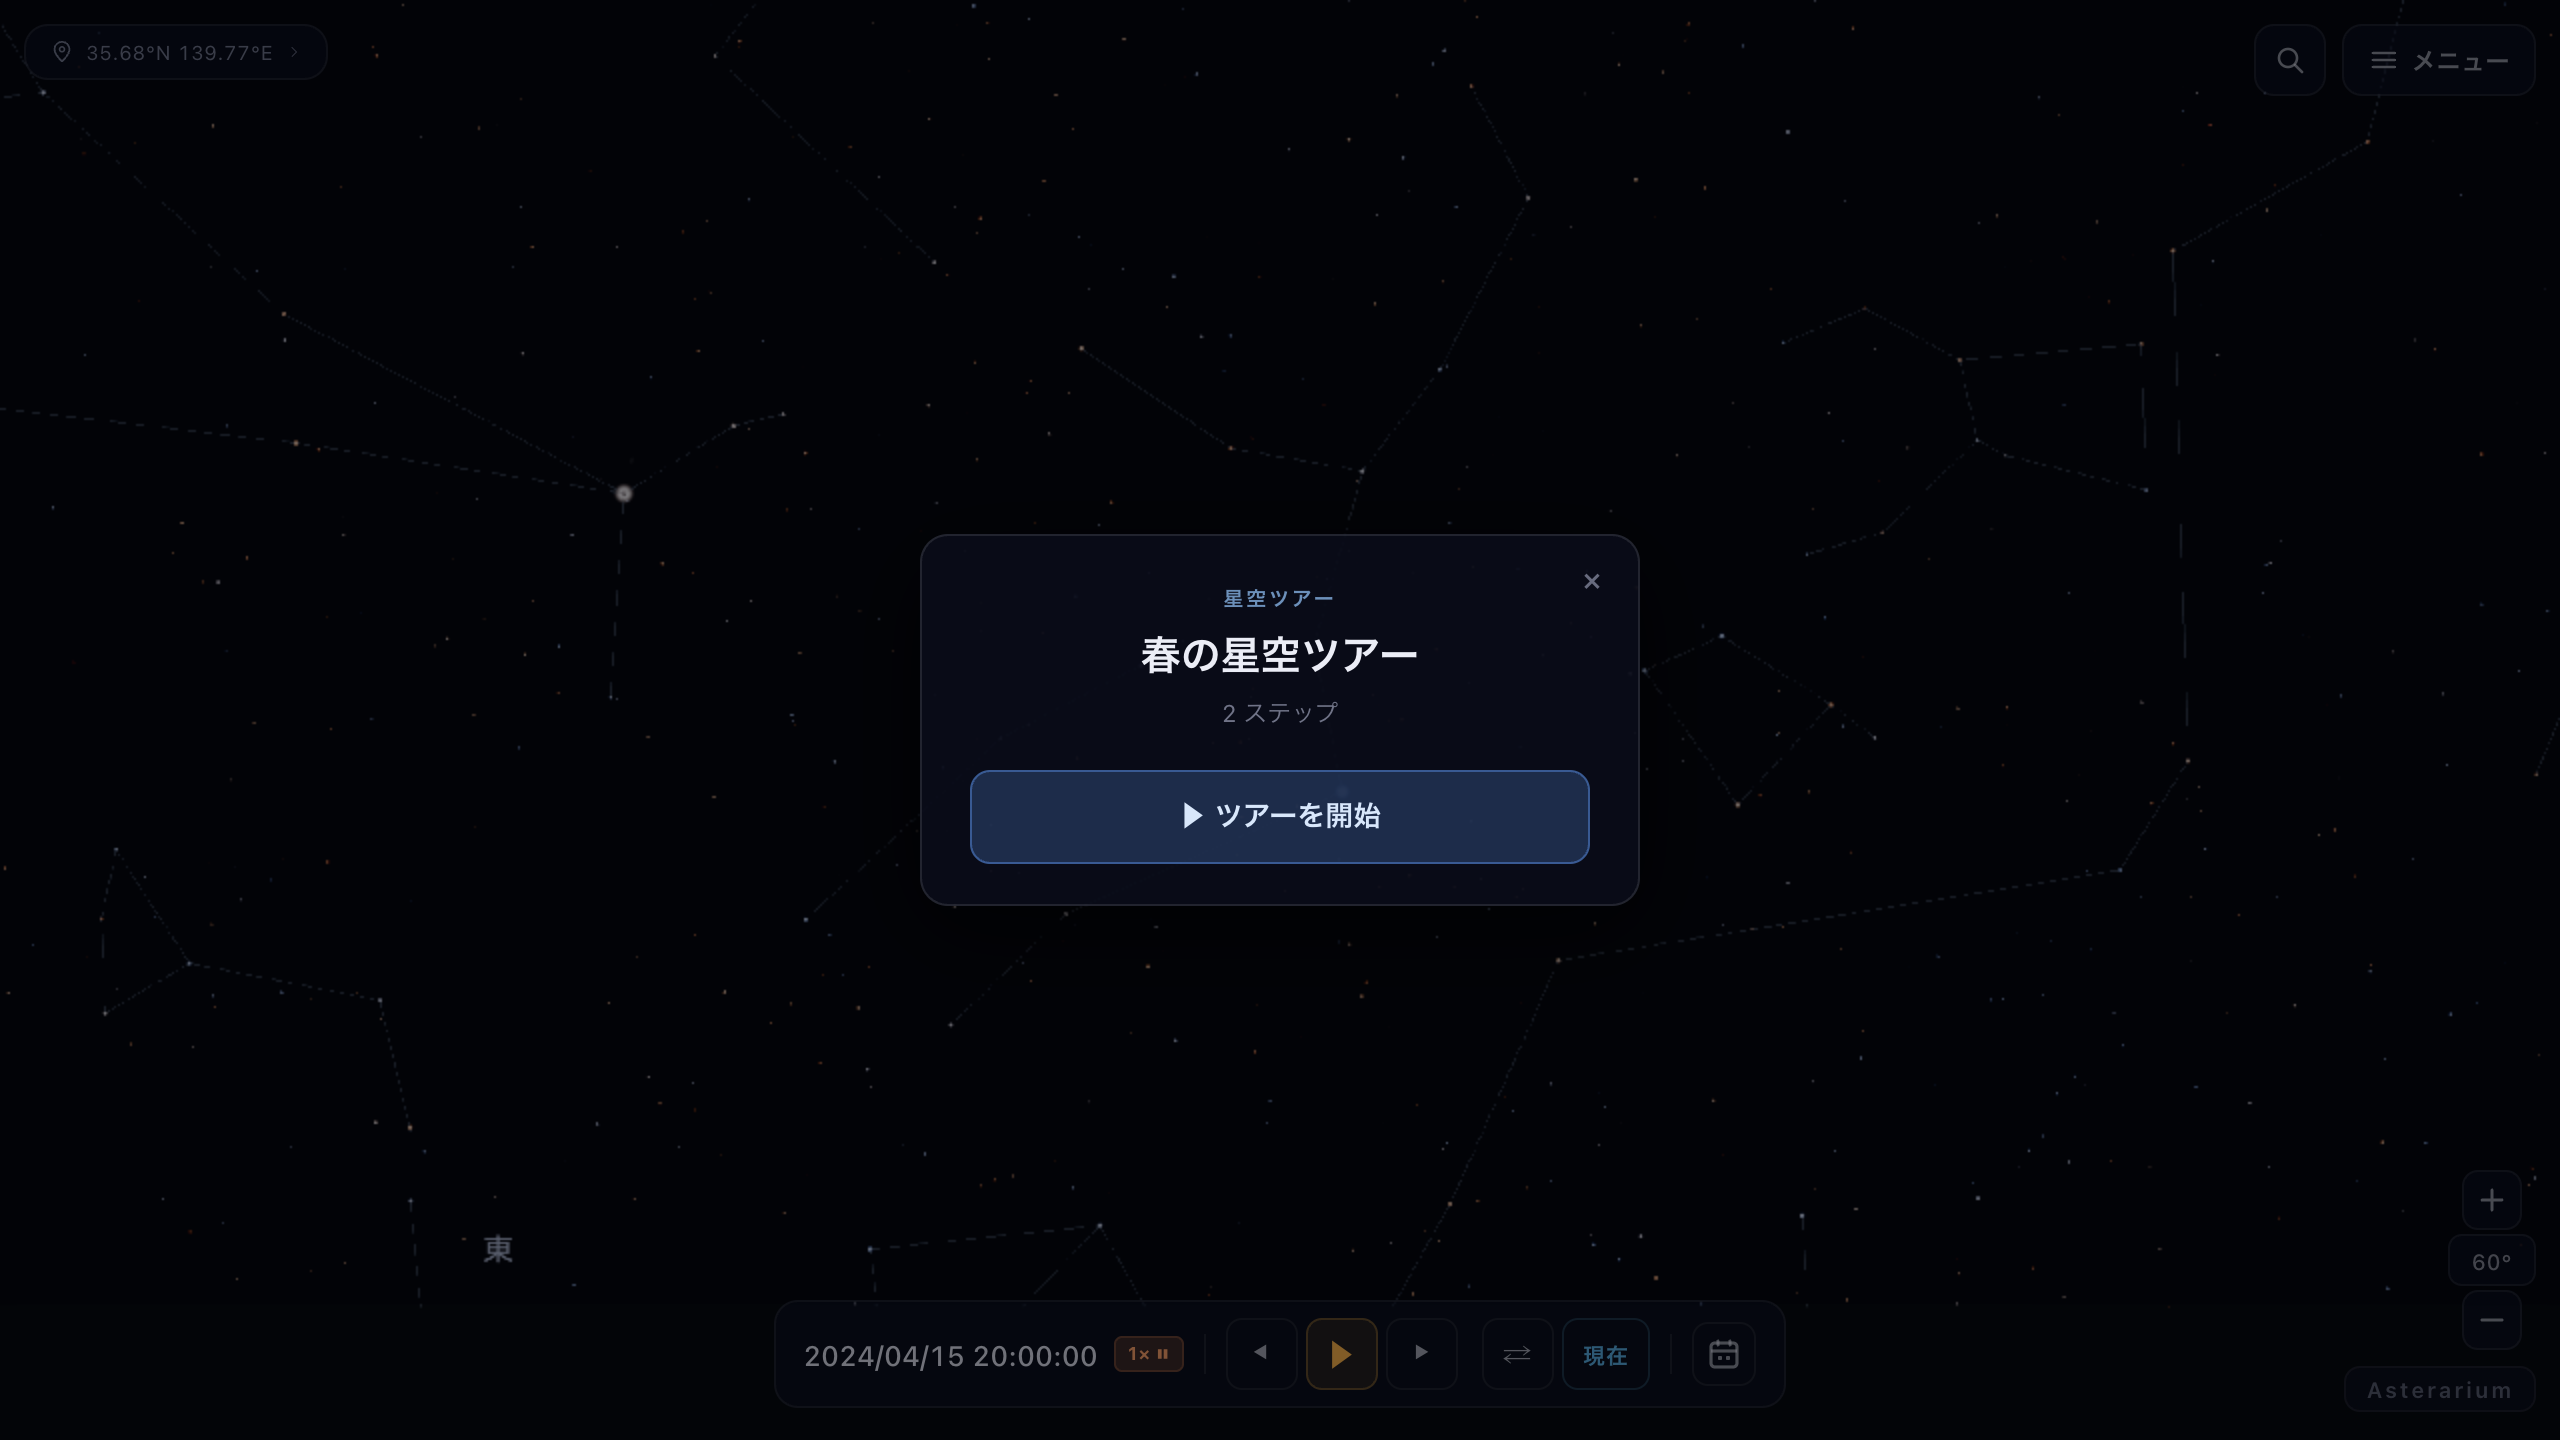
What a shared link opens with: the tour name, its step count, and ▶ Start tour.
On a phone
On a phone you can do everything — create, play, and share tours. The flow is the same as on a computer; only the look of the controls changes a little.
The step cards in the editing band scroll sideways. Tap a card to select it, and the "Selected" row appears beneath with the same actions as on a computer: Replace with this sky, Duplicate, Earlier, Later, Delete, Transition & timing, and Play from here (Earlier and Later show as arrows only). Use this row in place of drag-to-reorder.
Composing a sky uses the usual touch gestures: drag to look around, pinch to zoom, and when the framing is right, Add this sky. The playback transport also appears at the bottom, sized for comfortable tapping.
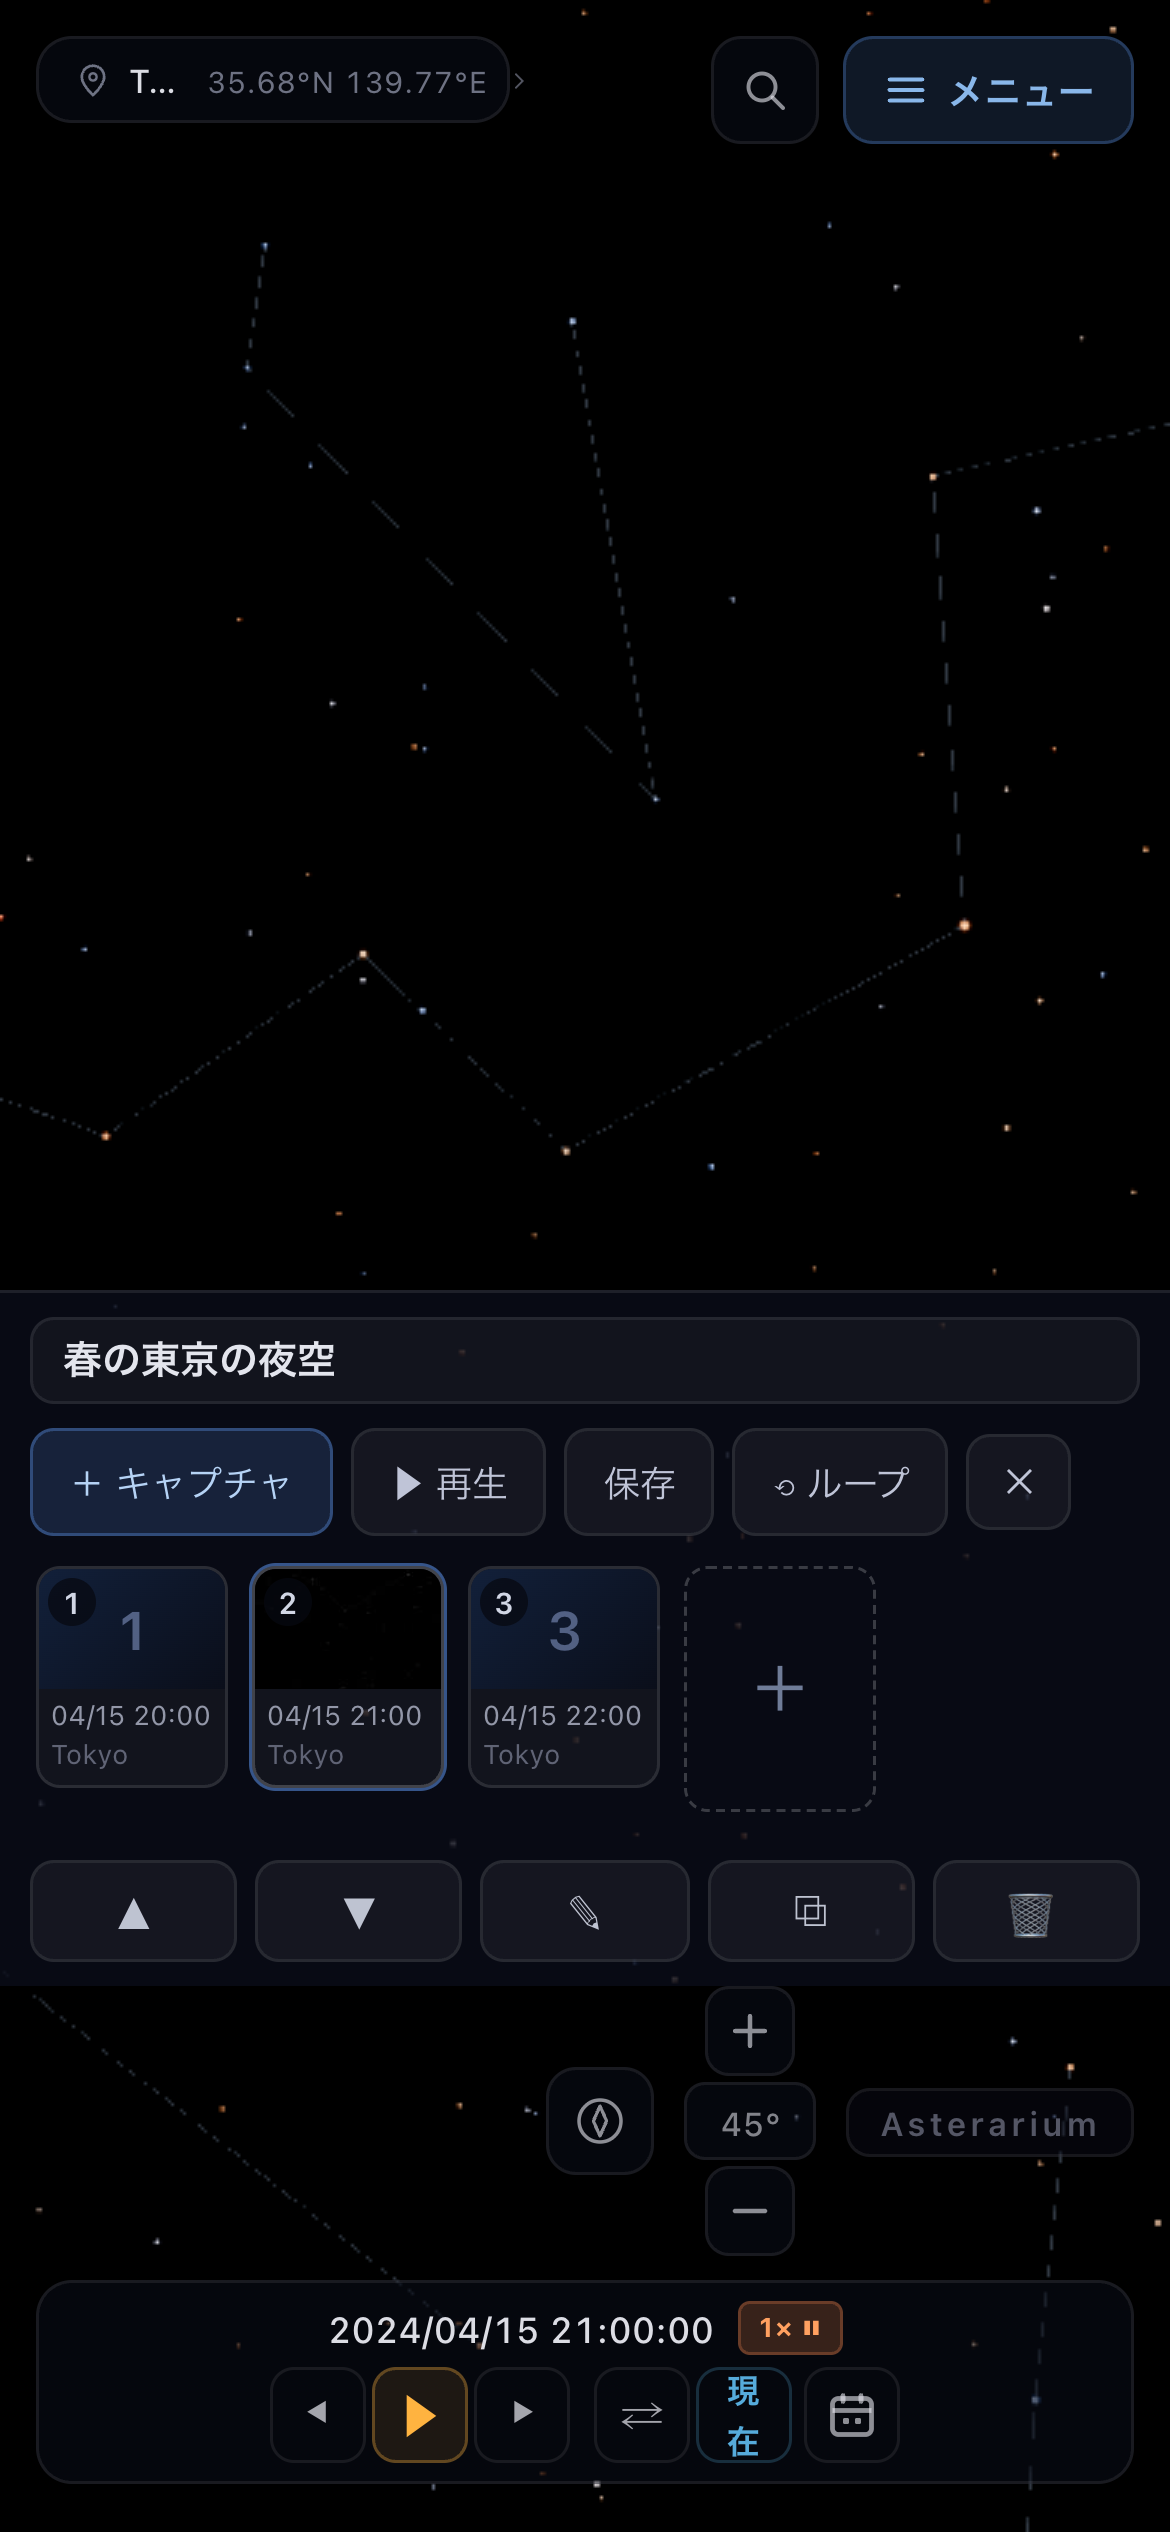
Editing on a phone with the second card selected — everything for that step is in the "Selected" row below.